
Rustic Squash Seed Pie
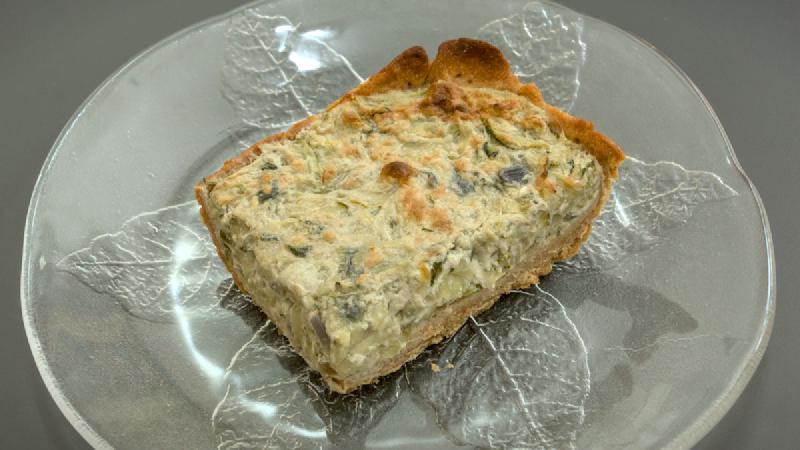
A comforting baked squash pie with a tender whole-grain spelt crust and a creamy seed-based filling. Mild, savory, and satisfying as a main dish or hearty lunch.
Yield: 3-liter (about 3.2-quart) oven dish | Prep: about 30 min | Freeze: yes | Total: about 60 min
Ingredients
Pie Dough
- 5 dl (2 cups) 100% whole-grain spelt flour
- 2 dl (0.85 cup) coconut flakes
- 2 dl (0.85 cup) water
- 1 tsp salt
Filling
- 1.5 kg (3.3 lb) fresh squash
- 1 onion
- 2 garlic cloves
Stuffing
- 3 dl (1.25 cups) water
- 1 dl (0.4 cup) sunflower seeds
- 1 dl (0.4 cup) cashew nuts
- 1 tbsp herb salt
- 2 tbsp psyllium husk flakes, or 1 tbsp psyllium husk powder
Instructions
Pie Dough
- Preheat the oven to 200°C (390°F) using the convection fan setting.
- Finely grind the coconut flakes in a blender or coffee grinder.
- Combine the spelt flour, ground coconut flakes, salt, and water in a bowl and mix into a dough.
- Roll the dough into a rectangle and place it in an oven-safe dish of about 3 liters (3.2 quarts).
- Prick the bottom and sides with a fork to release air during baking.
- Bake for about 10 minutes, then remove from the oven.
Filling
- Grate the squash, finely chop the onion, and press the garlic.
- Add the squash, onion, and garlic to a pot of about 4 liters (4.2 quarts).
- Cover with a lid and cook over medium heat, stirring frequently at first and occasionally once the squash releases its juices, until soft. No additional water is needed.
Stuffing and Assembly
- Add the water, sunflower seeds, cashew nuts, and herb salt to a blender.
- Blend until completely smooth.
- Pour the blended stuffing into the pot with the cooked squash and mix thoroughly.
- Stir in the psyllium husk until evenly distributed.
- Preheat the oven again to 200°C (390°F), convection fan setting.
- Transfer the filling to the pre-baked pie shell.
- Bake for about 25 minutes.
- Let cool slightly before serving.